
- Navigation
Results 21 to 30 of 111
-
09-11-2012, 07:35 PM #21
Lurker
- Status
- Offline
- Join Date
- Feb 2009
- Location
- Edwardsville, IL
- Posts
- 209
 Alright, that sounds good.
 Originally Posted by noice

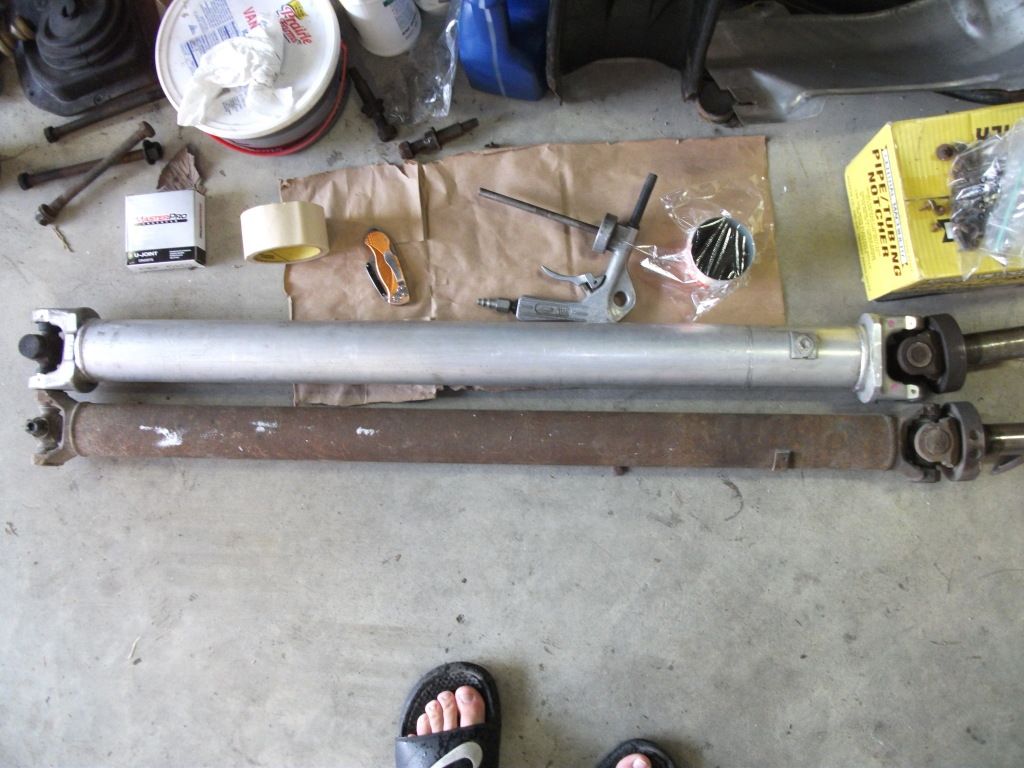
Here's a pic of a little something I picked up today:
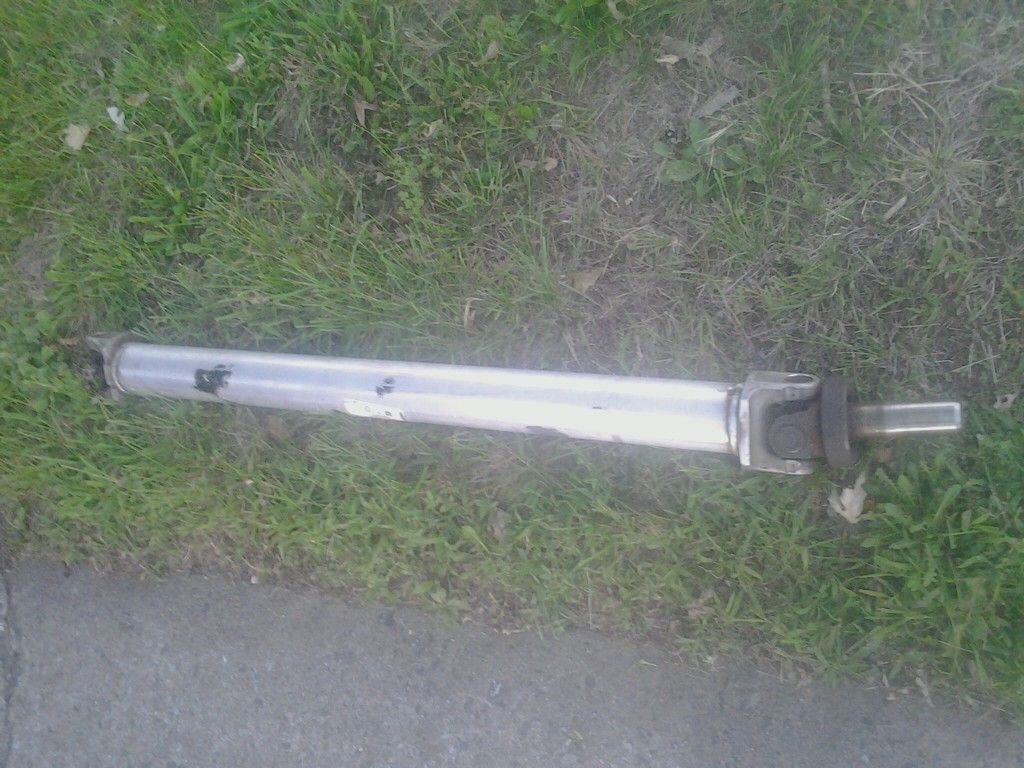
Stock aluminum driveshaft from an ls1 SSJosh 1994 Z28
M6 Converted - Intake - Exhaust
-
09-13-2012, 09:17 PM #22
Lurker
- Status
- Offline
- Join Date
- Feb 2009
- Location
- Edwardsville, IL
- Posts
- 209
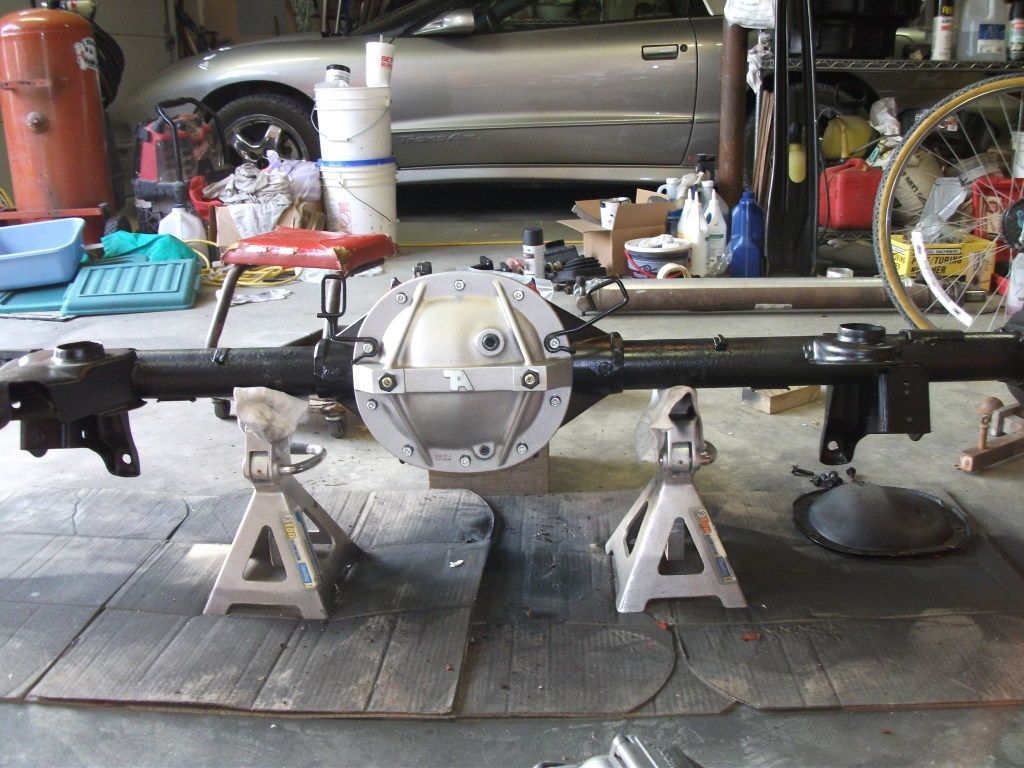
Update:
I installed my TA cover today! It went on with no real problems. I took the stock cover off, drained the fluid, cleaned all the old rtv off, and chased all the threads in the housing to clean out all the crap. Then I installed the bearing cap stud kit, and used some red high temp rtv to make the new gasket. Put the new cover on, torqued all the housing bolts down, then finally torqued the load bolts to 5 ft/lbs & snugged up the jamb nuts. The only thing left to swap out the rear ends, fill it with fluid, and take it for a test drive.. up and down the driveway.. lol. The only slight problem I ran into along the way was putting on the e-brake line brackets. The kit includes a couple thick spacer washers and longer bolts for those two holes. Well, the thick washer was too wide to fit in the hole of the bracket, so I was going to put the spacer washer on first, then sandwich the bracket with a couple flat washers... I didn't think it would be a problem since it only calls for 25ft/lbs for those bolts, but the bolt ended up trying to draw down through the washer, ruining it. I'm going to get some grade 8 washers to make sure the bracket is secure before it goes on the car.
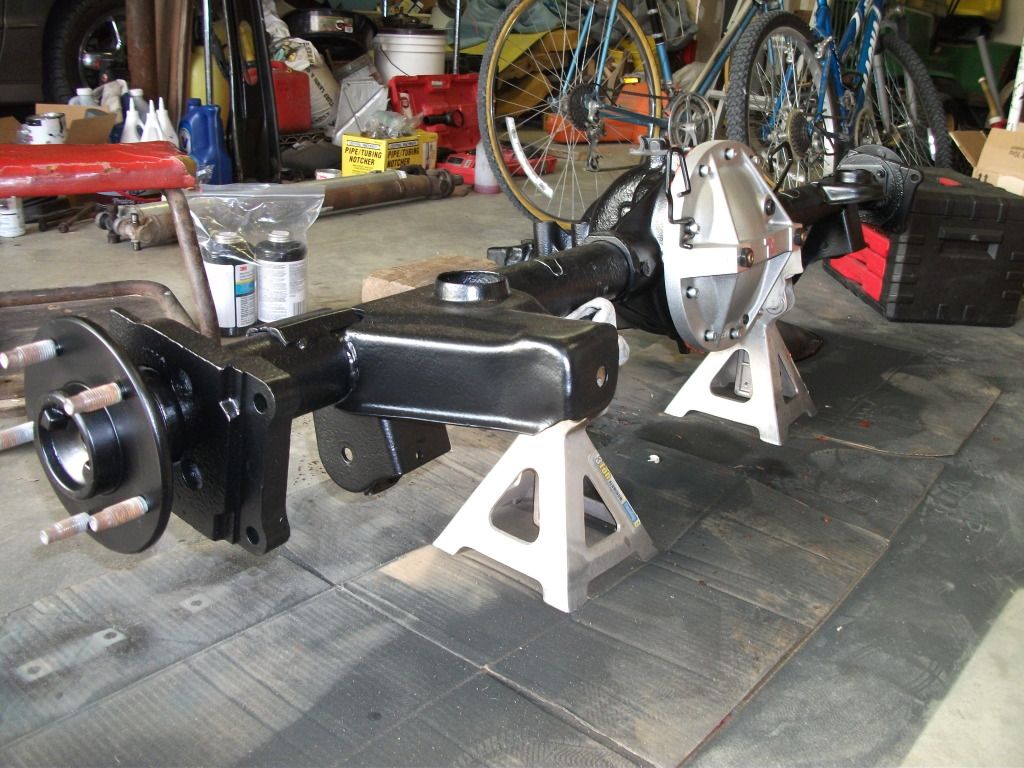
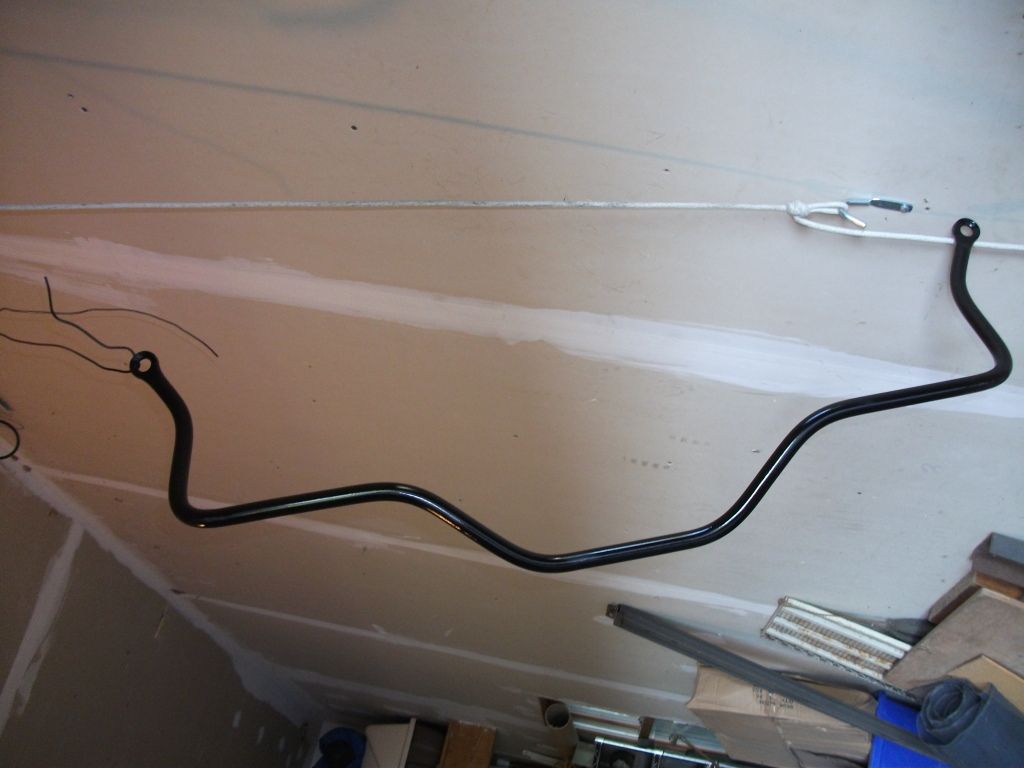
And here are some pictures of stuff I did earlier this week.
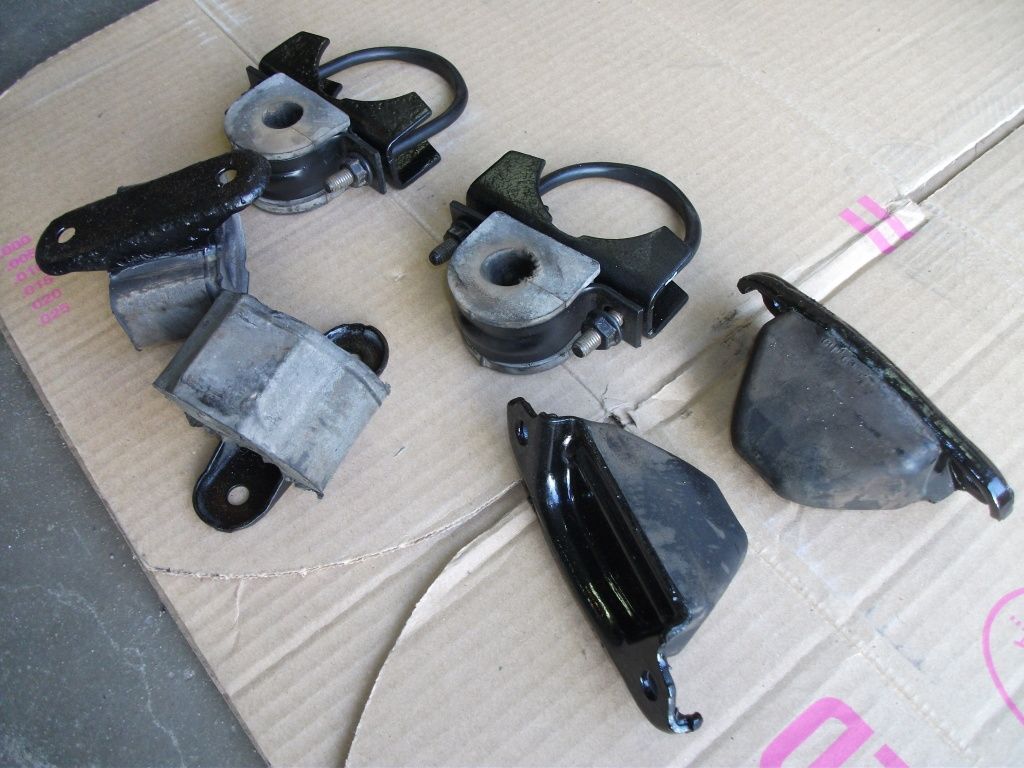
Painted the rear sway bar
Painted the bumpstops, exhaust hanger brackets, and sway bar mounting brackets. And I also chased the threads to get them good and clean.
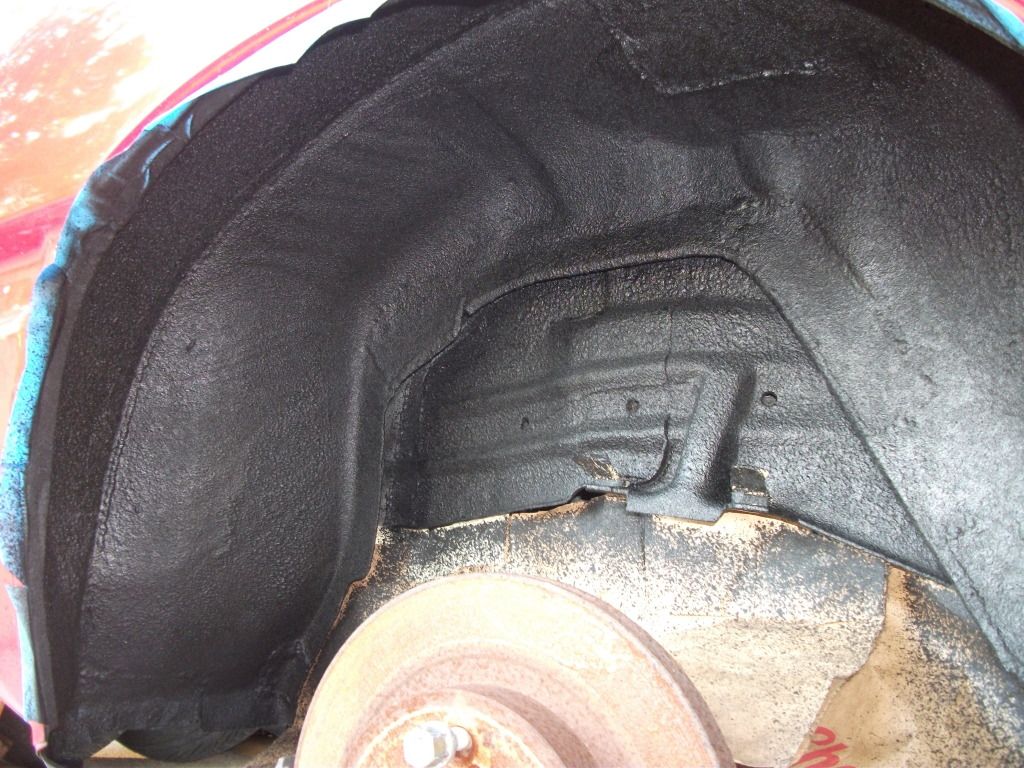
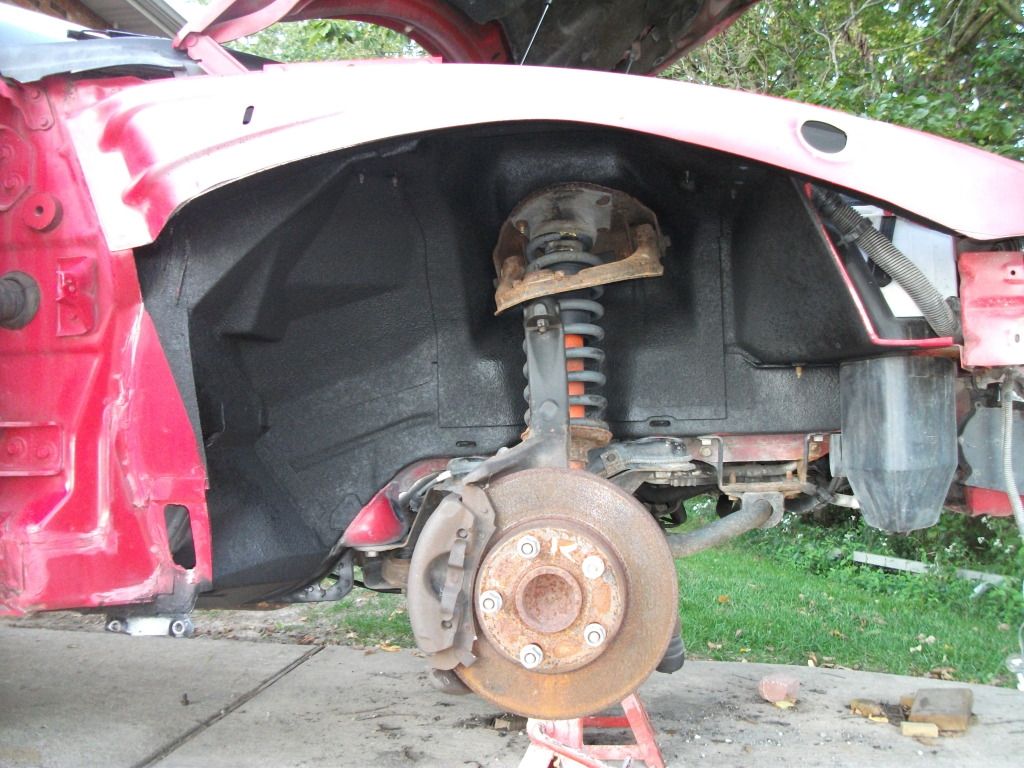
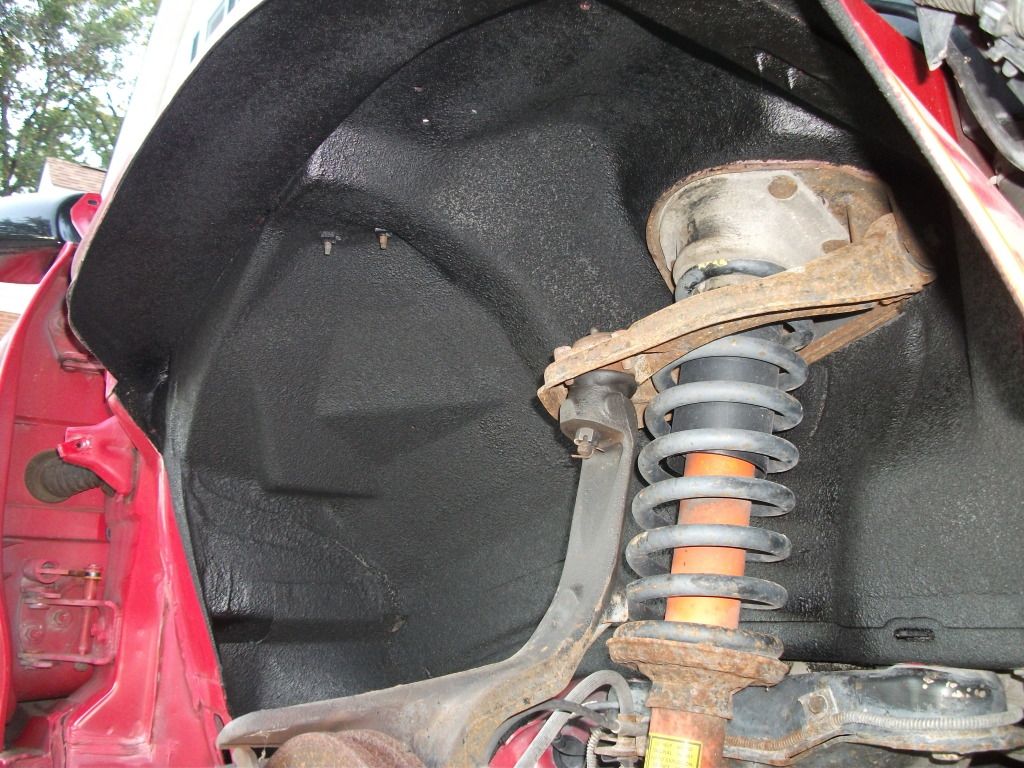
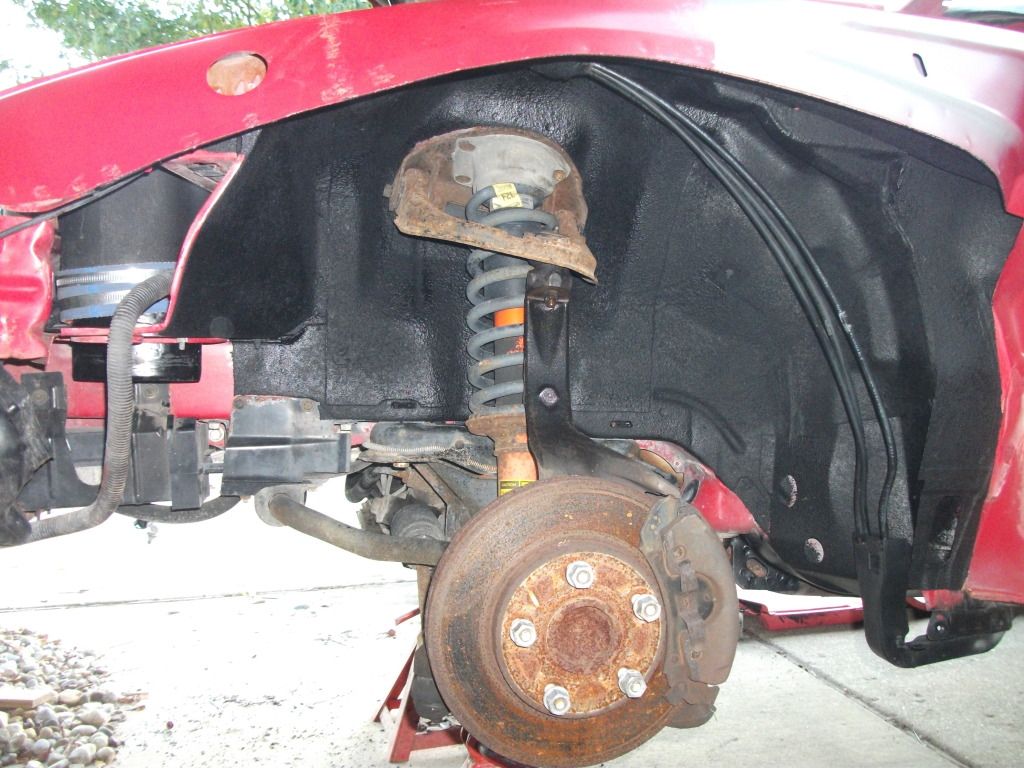
Here's a few pics of the 3M Body Schutz undercoating I was talking about a few posts ago. This is only 1 coat in the rear wells and it covered pretty good. It will get another coat or two to really cover up the patches. Two more quarts of this stuff arrived today, so I am looking forward to spraying it. Unfortunately, I'll be out of town all weekend so I won't get to work on the car at all until next week sometime..
Finally here's a better picture of the ls1 driveshaft, and comparing it to the stock steel one. The aluminum shaft was missing two of its U-joint caps when I bought it... so I picked up a new U-joint from O'Rielly's, $11, not too bad. Not really looking forward to replacing that, it sounds like a pain in the ass. Right now I just stuck the caps from my stock U-joint on there. It would probably work just fine like that... but it just doesn't seem like the right way to go about things to me.
Last edited by SchaefZ28; 09-13-2012 at 09:30 PM.
Josh 1994 Z28
M6 Converted - Intake - Exhaust
-
09-18-2012, 08:49 PM #23
Lurker
- Status
- Offline
- Join Date
- Feb 2009
- Location
- Edwardsville, IL
- Posts
- 209
Update for today..
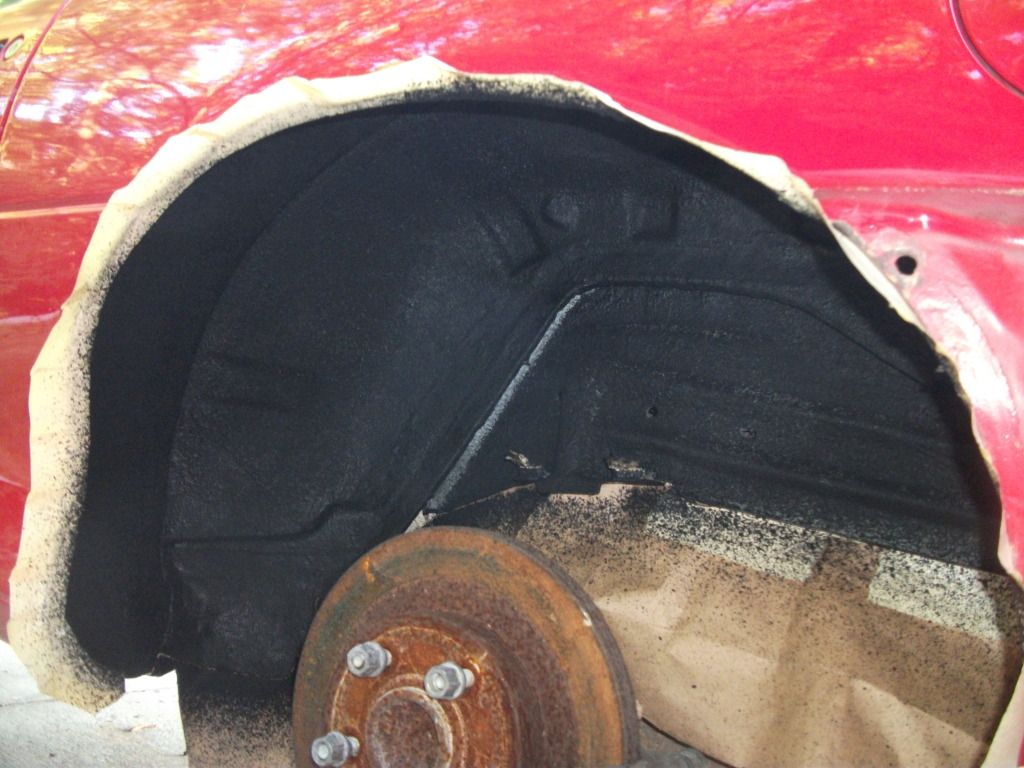
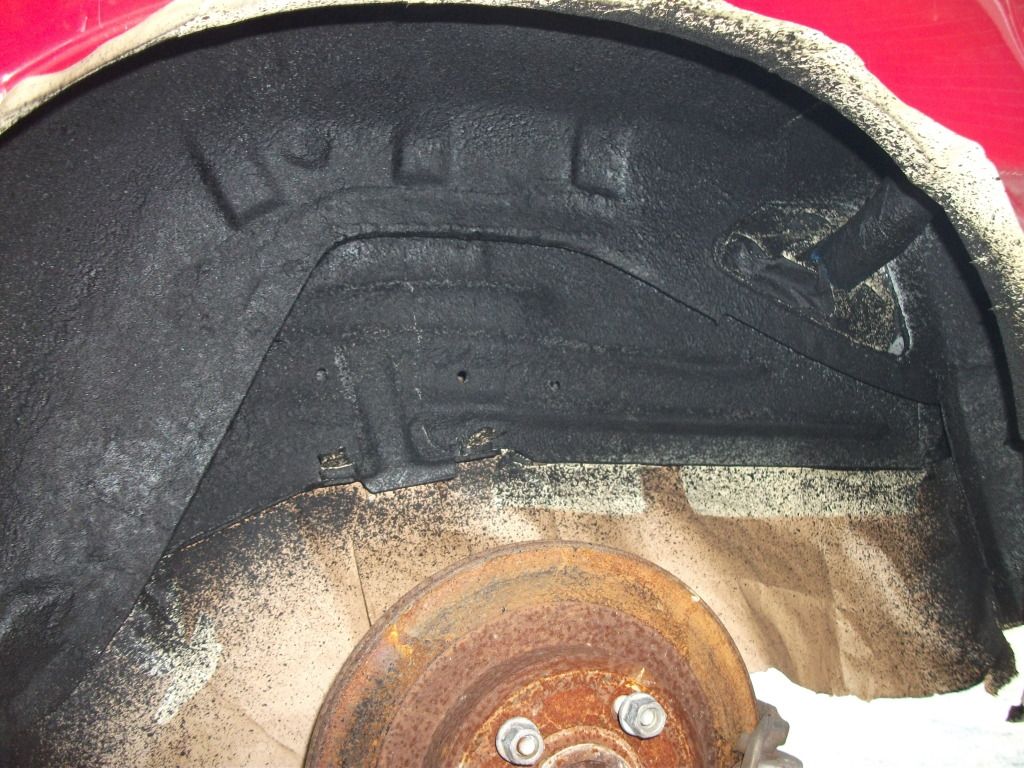
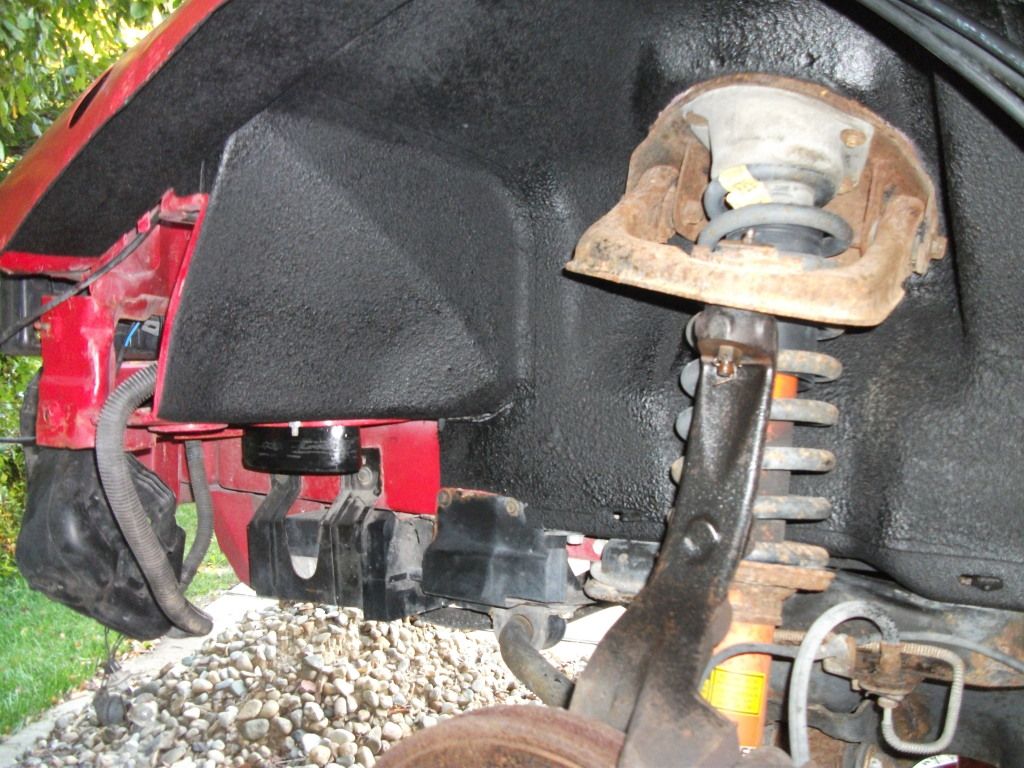
I used up the other 2 quarts of undercoating that I bought. I went through about a quart and a half on the front wheel wells, then did a little more in the rear... I am thinking 2 more quarts should be enough to get everything covered & built up just how I want it. That will have to wait until I get it back from the painter however, because I should be bringing the car up to him either tomorrow or thursday!
Right side:
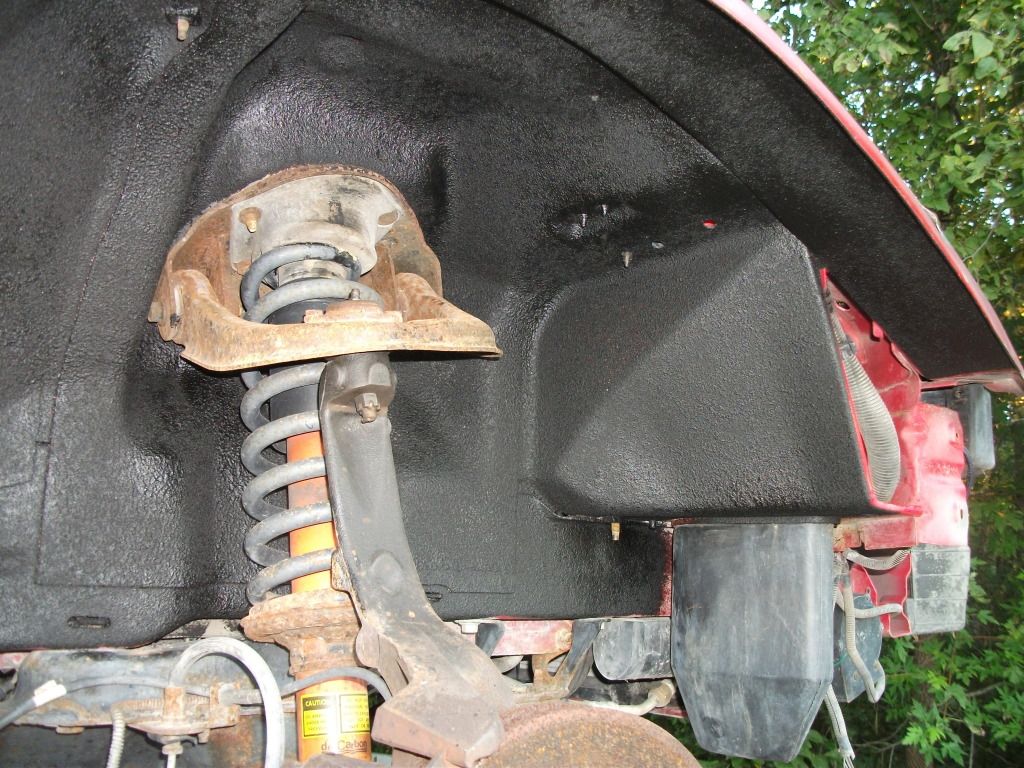
Left side:
 Josh 1994 Z28
M6 Converted - Intake - Exhaust
-
09-21-2012, 02:34 AM #24
"The Rock"
- Status
- Offline
- Join Date
- Jul 2009
- Name
- Popo
- Vehicle
- 1996 Impala with the heart of the old camaro. 1993 Corvette..
- Location
- Shillington, Pennsylvania, United States
- Posts
- 61,345
love the coverage of ur progress....
cherrish the time with ur pop.... ur a lucky guy having the opportunity to do this stuff.
Larry (Popo8) Co-owner
LTXtech.com
Our BIG MOMENT @ the 2012 LTXshootout
http://www.facebook.com/photo.php?v=521756391174175
1996 Camaro Z28: RIP 09/25/2016
1994 Trans Am GT: SOLD 05/2017
1985/1996GS clone: SOLD
1996 Impala SS H/C, LT, with true dual exhaust, 4.10s, lowered, with CPT trans, many cosmetic mods, and a whole lot more to come...
2002 Caddilac EscaladeL CAI, lowered, 6.0 , AWD..
-
09-26-2012, 03:52 PM #25
Lurker
- Status
- Offline
- Join Date
- Feb 2009
- Location
- Edwardsville, IL
- Posts
- 209
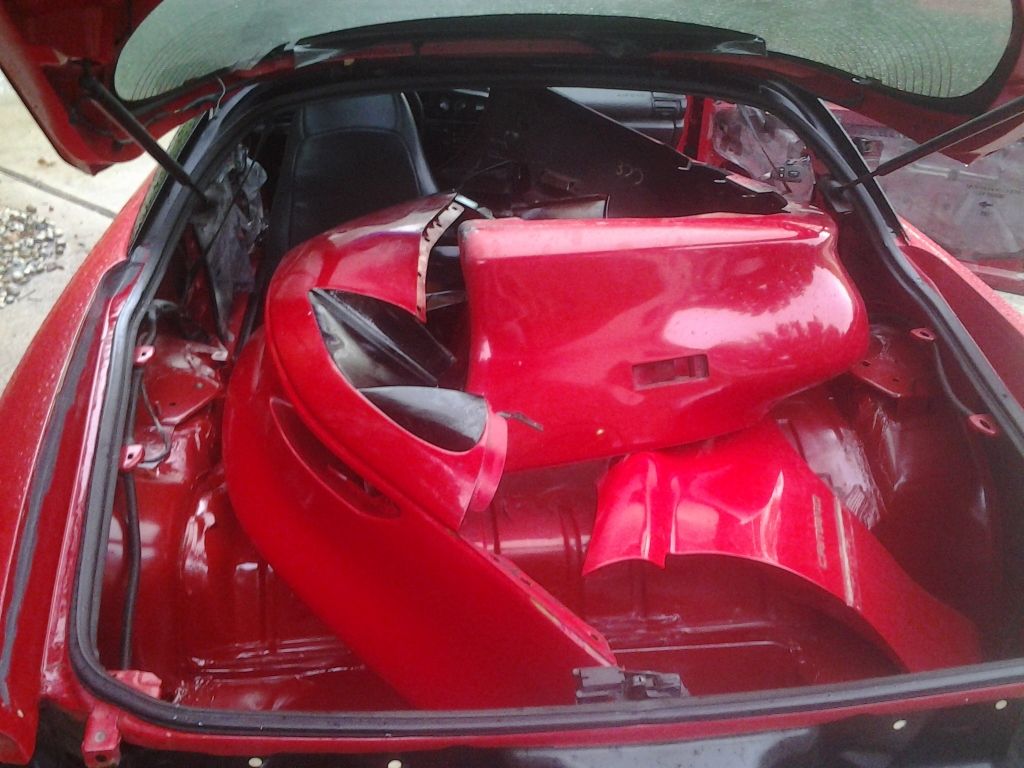
Yesterday: Car is all loaded up and ready to go! We fought the storms and I got the car loaded up with all of its body parts, and put on the car dolly. We put the SS hood in the back of the truck, and off we went to the painter's house! He is only about 15 minutes from my parent's, so it was an easy drive. Once there, we had to wait out some more rain but finally got the car into the shop.. I should have the car back sometime next month. Until then I might go up there to get some progress pictures every once and awhile.
I should have had the car there last Thursday, but I got everything put back together to take it for a spin down the driveway... and it wouldn't start.
After a couple attempts it started up, but the idle quality was terrible. My first thought was: "hey, someone stuck a cam in here while I wasn't looking! "
"
It started smelling of gas and smoking a little bit so I shut it down. I looked around underneath the car, and noticed that the heat shield on the passengers side was wet. It smelled like gas.. Dad suggested I check some of the spark plugs, so I went back out to jack up the car, now a stream of gas poured out the driver's side header!? I pulled all the plugs, and a couple on the left side were wet, the rest looked ok. Initially I was thinking an injector was stuck open... It had been about a month since the last time it ran.
I turned the engine over by hand, and a good amount of fuel came out of cylinder #5, and the rest were dry. I cycled the key to 'on' to prime the pump a couple times, and turned it over a few more times. Now I had gas coming out both sides of the engine! Time to pull the fuel rail & injectors... I got all of the injectors out of their holes, and put paper towels under them. Then I had my brother turn the key on so the fuel pump would run. We did this a few times for good measure, and no gas would ever come out of the injectors. I turned the engine over again, and got lots of fuel out of the cylinders. What is going on?? I was lost on how fuel was getting into the engine with no injectors installed....
Just for kicks, I pulled off the intake elbow, held open the throttle body and looked inside of the intake with a flashlight while he primed the pump again. A stream of gas shot out from the right side of the intake! Surprised the hell out of me lol. So now I know where it's coming from, but why? I found the vacuum hose it was coming from, and followed it around the back of the intake to the fuel pressure regulator. Apparently the regulator crapped out in the past month of sitting. Not a big deal since we have a disassembled LT1 down in the basement.. I took the fuel rail off my car, and swapped out the regulator with the spare one. Hooked the fuel lines back up and did a test run to make sure it was good before putting everything back together. I didn't get gas shooting out all over the place, so we're good to go! I got everything put back together, and changed the oil and filter since I know there had to be some gas in the oil now.. and it started up and idled perfect, on the first try! That's always a good feeling
FINALLY, it was time to go for a test drive down the driveway (1/2 mile). I tried to sit on a bucket, but I was either too far from the pedals, or way too close, so I gave in and went downstairs to grab a seat to bolt in. Man did it feel great to drive it again! The clutch is nice and smooth, just the way I wanted. I wished I could have drove it around on the road for awhile, but with no bumper covers or fenders, I didn't think that was a very good idea, plus it was starting to get dark. This was on Monday evening, and I called the painter to let him know I'd be there the next day. Now all that is left to do is wait, and tie up a few loose ends while the car is away.Josh 1994 Z28
M6 Converted - Intake - Exhaust
-
10-05-2012, 02:20 PM #26
Lurker
- Status
- Offline
- Join Date
- Feb 2009
- Location
- Edwardsville, IL
- Posts
- 209
No real news today. I am planning on going to visit the car this weekend though to take some pictures of the progress. I went ahead and ordered HIDs for my high beams and fog lights, so all my lights will match finally
Here's a before and after pic of a couple brackets I found at the junkyard. They are for mounting the fenders/bumper cover, and mine were either rusting away or had broken studs.
Sanded:
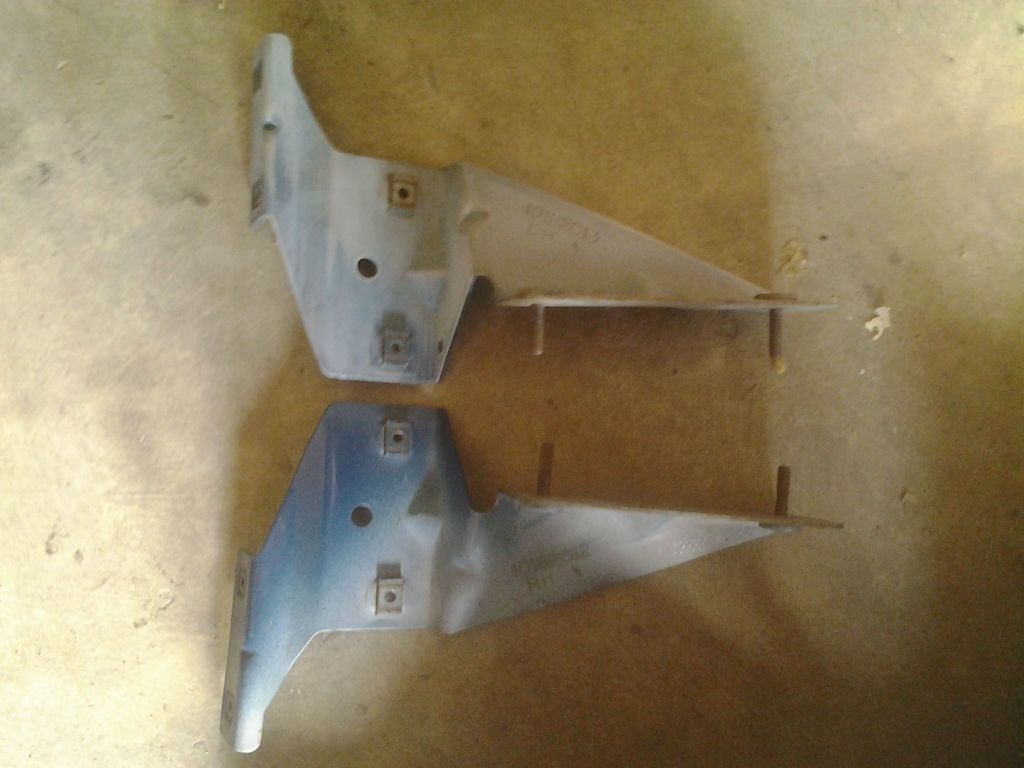
Painted:
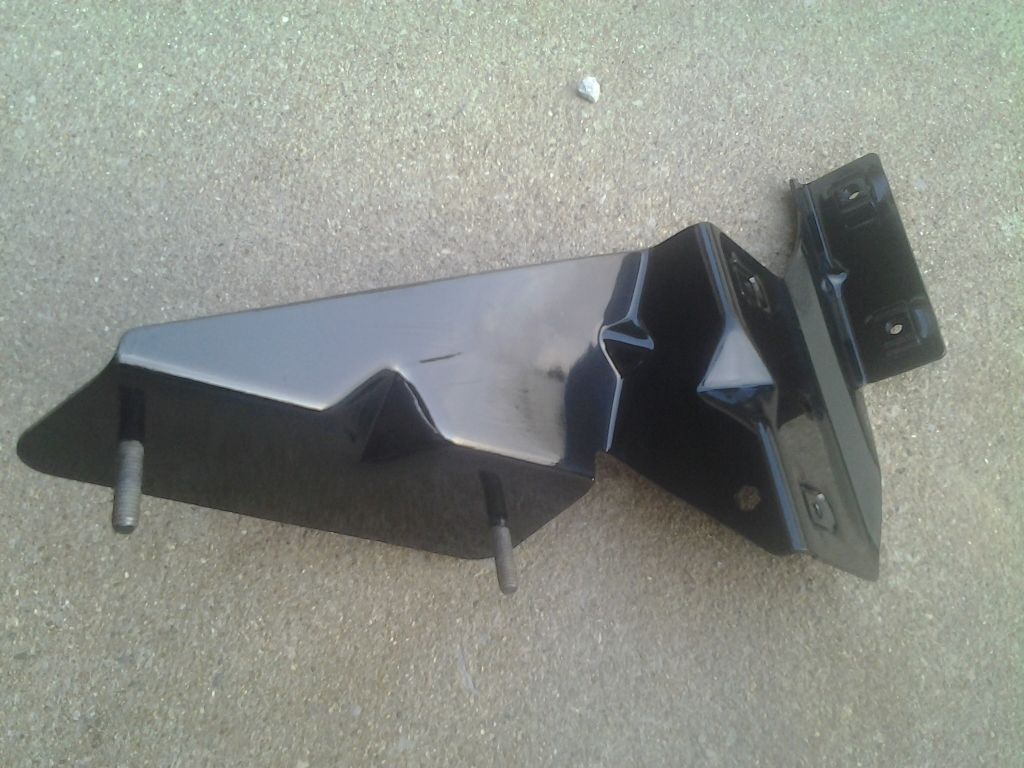
*** I originally got a pair of brackets off a firebird, not realizing they were different until comparing them when I got home... so I have these brackets for a firebird if anyone needs them!Josh 1994 Z28
M6 Converted - Intake - Exhaust
-
10-06-2012, 07:21 PM #27
Lurker
- Status
- Offline
- Join Date
- Feb 2009
- Location
- Edwardsville, IL
- Posts
- 209
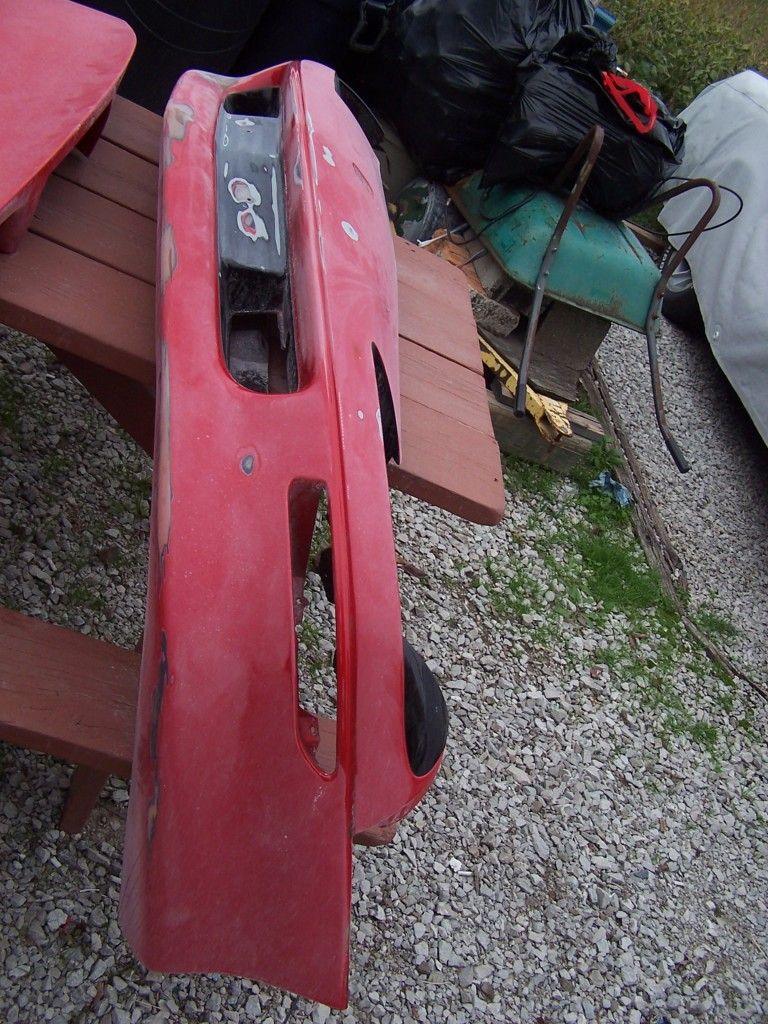
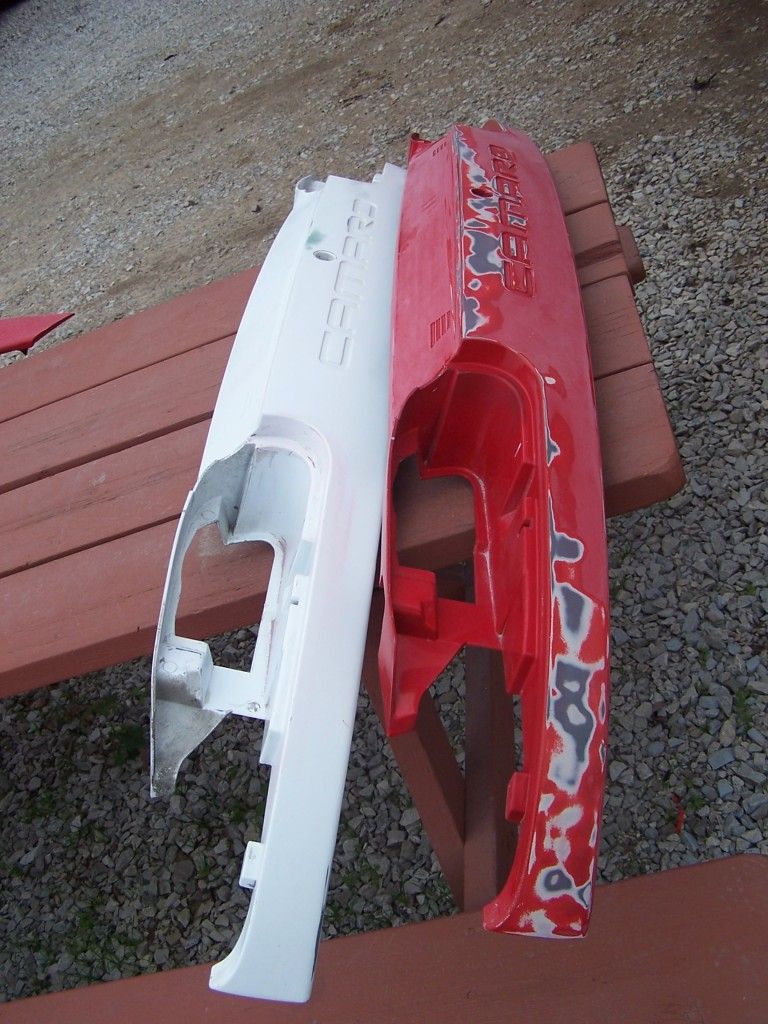
Paid a visit to the painter today. I wanted to take some progress pics, and write him a check for materials.
No work on the actual car just yet, but he's been working on getting the panels sanded down. There is a lot of stripping to do on the areas where the clear coat was coming off.
On with the pictures..
Front Bumper still has a little more work to be done. Some more sanding, and the two screw holes filled in for the license plate bracket.
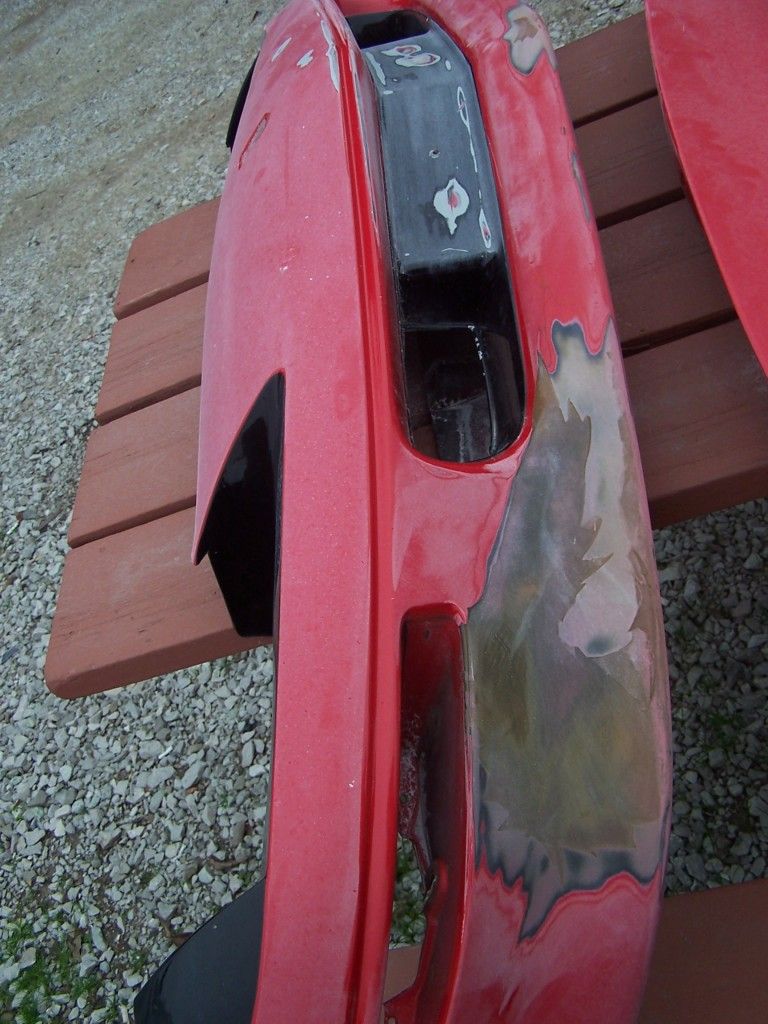
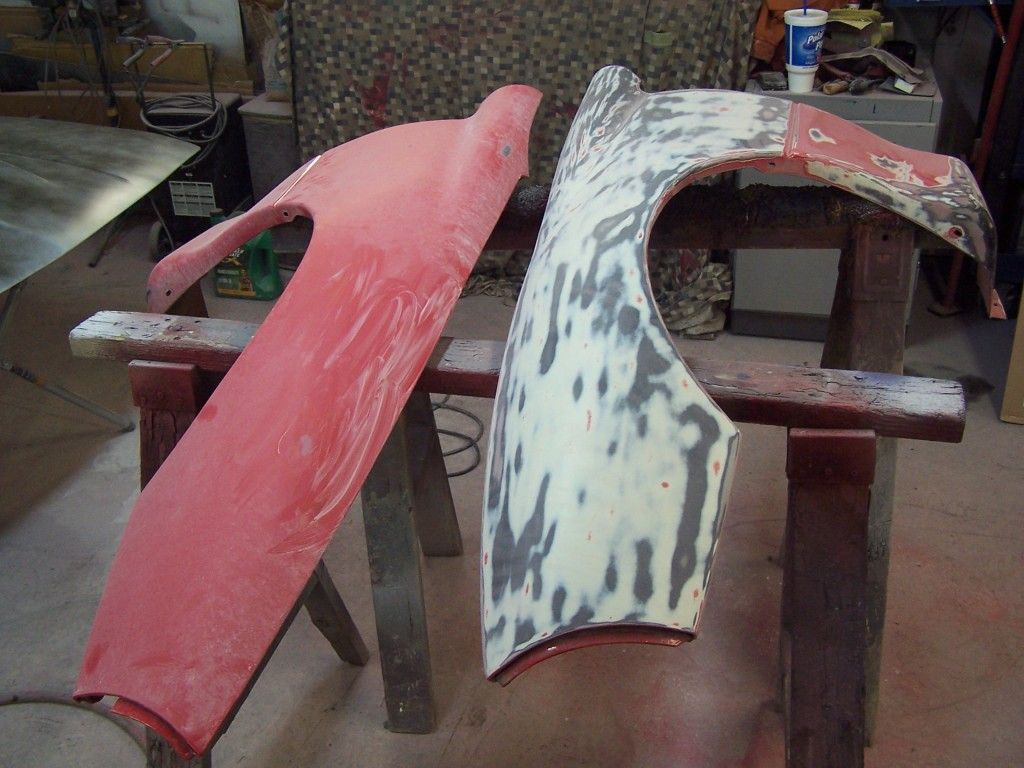
The two tail panels, the red one had clear coat issues to deal with. The white one will be painted black.
The camera didn't focus very well, but this is the corner of my spoiler that was damaged.

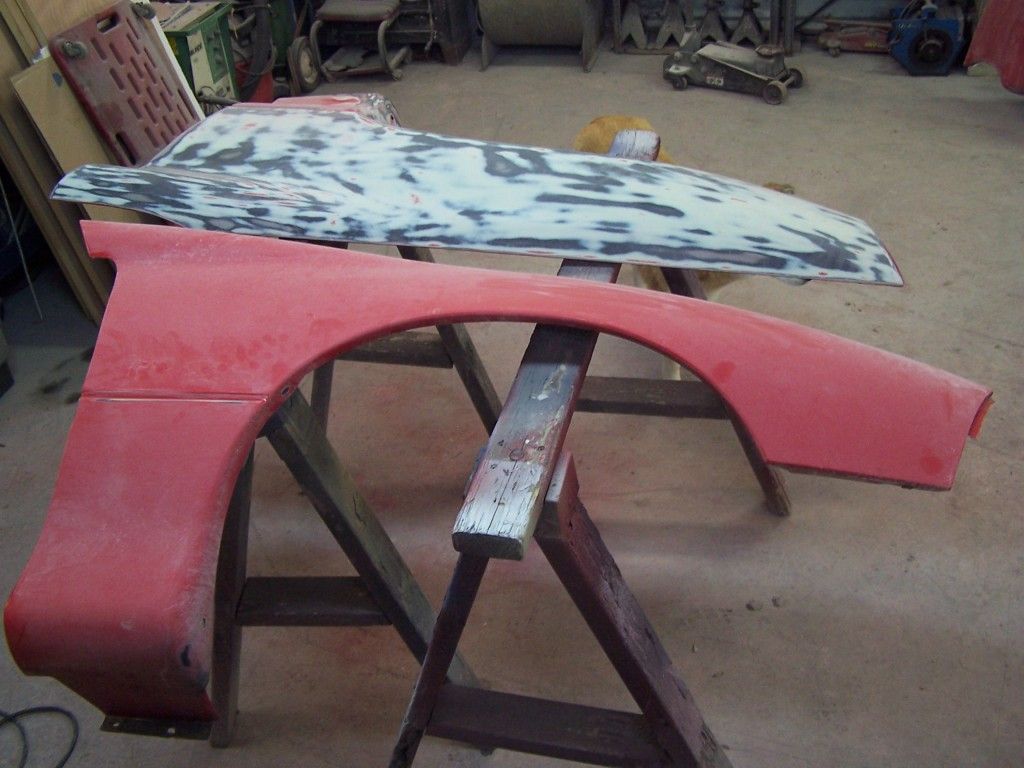
Driver's side fender has had almost everything stripped off it, the passenger's side was in better shape.
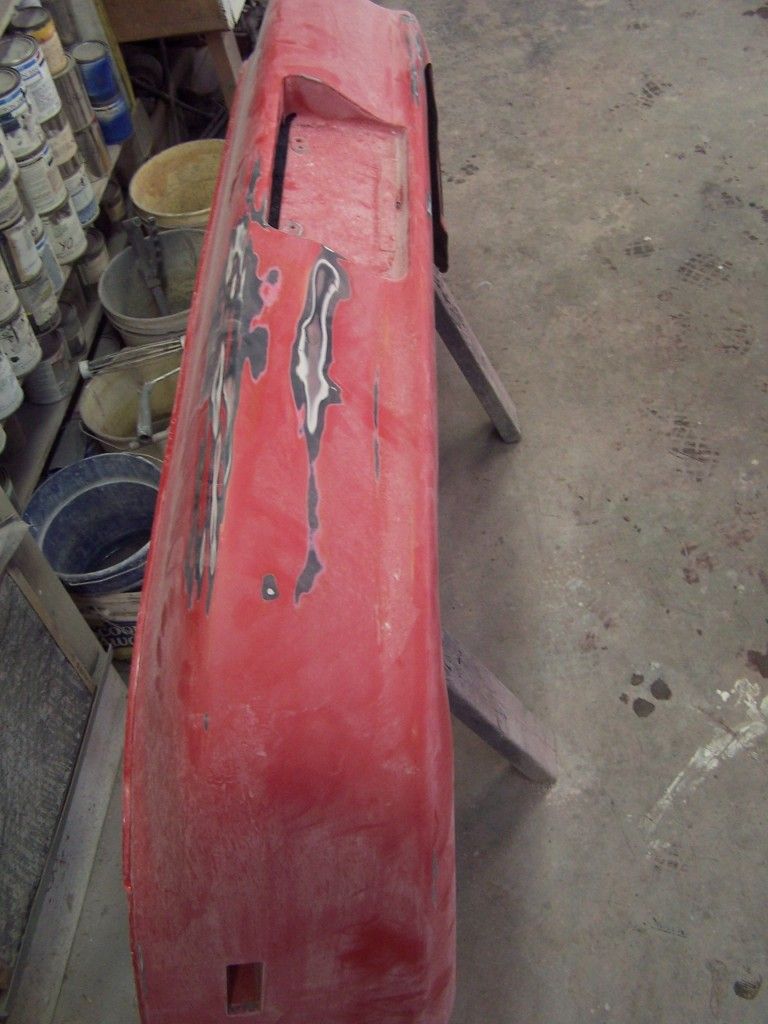
Here's the rear bumper cover, it had a little bit of damage to it.
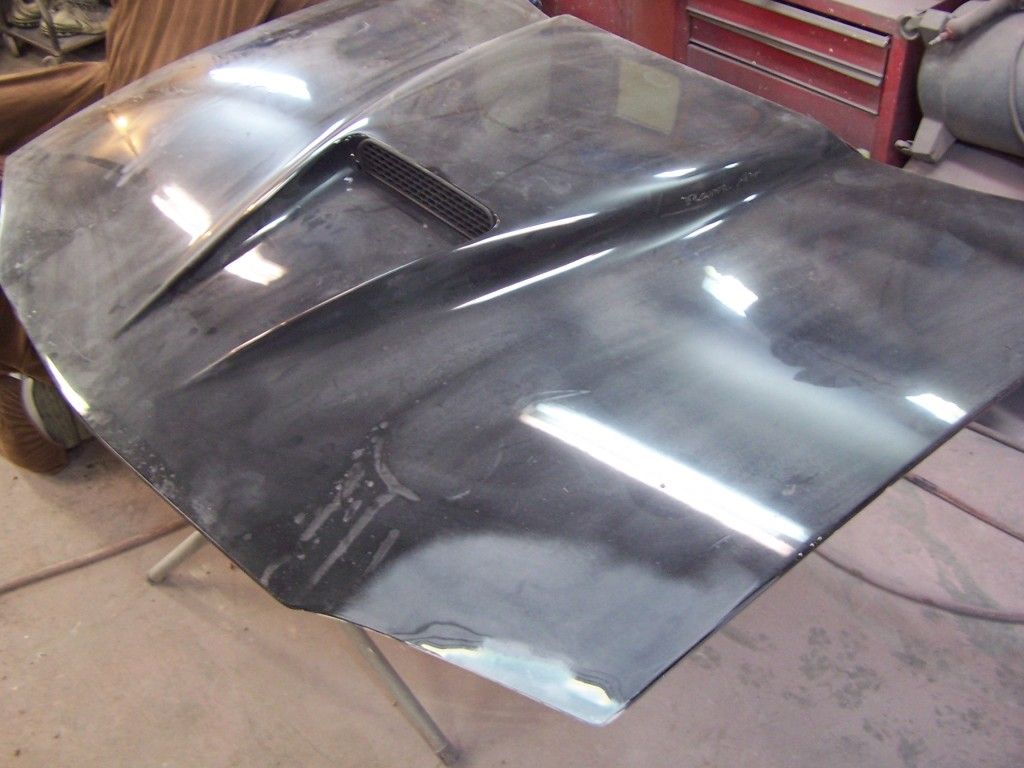
Last but not least is the new hood. The damage to the corner has been fixed most of the way, it just needs a little more work underneath to make it perfect. The rest of the hood is in pretty good shape, just needs to be sanded the rest of the way.
It was nice to see some progress on the car now that it is out of my hands. I've been waiting a long time for this, and it's finally getting done! He is hoping to shoot some primer soon, and have a coat of red down by next weekend, when I will stop by again.
Josh 1994 Z28
He is hoping to shoot some primer soon, and have a coat of red down by next weekend, when I will stop by again.
Josh 1994 Z28
M6 Converted - Intake - Exhaust
-
10-06-2012, 07:43 PM #28
 InActive Member
- Status
- Offline
- Join Date
- Sep 2012
- Posts
- 84
Your work with painting is spot on man. What equipment do you use?
-
10-06-2012, 10:28 PM #29
Lurker
- Status
- Offline
- Join Date
- Feb 2009
- Location
- Edwardsville, IL
- Posts
- 209
My index finger mostly Originally Posted by Greg08
Actually the only work on the car I'm not doing myself is the body work and paint on the exterior, a local guy is doing it as a side job. I'm not sure exactly what type of equipment he has..
All the painting I've done (interior and underbody) was with a paint brush, or with spray paint. Nothing fancy. The undercoating I used a spray gun hooked to our air compressor. It's made to screw onto the bottle of undercoating, and it just siphons it out; very pleased with how it came out Josh 1994 Z28
M6 Converted - Intake - Exhaust
-
10-07-2012, 12:17 PM #30
InActive Member
- Status
- Offline
- Join Date
- Sep 2012
- Posts
- 84
nice man! so you do all the prep work and give it to him for the coats?


 Reply With Quote


Bookmarks