
- Navigation
Results 11 to 20 of 32
Thread: LPP Header Install
-
01-21-2010, 10:51 AM #11
 VIP Member
- Status
- Offline
- Join Date
- Sep 2008
- Location
- Round Rock, TX
- Posts
- 906


http://lpparts.com/store/
I've heard a few people had to grind the factory k-member and other who have not. It probably depends on the heads and the condition of the motor mounts.
-
01-22-2010, 02:36 PM #12
LTx Mod, Founding Member
- Status
- Offline
- Join Date
- Sep 2008
- Location
- Saugus, MA
- Posts
- 3,450

Stickied for now, until I can find that damn writeup/install section


I had a link saved before, and for the life of me cant find it...Nick
- 2003 SVT Cobra T56/4.6L - Pullied, Tuned, Full Intake/Exhaust, Stg3 Clutch (29k) - 483rwhp @14-15psi
- 2002 Ford F350 7.3L Powerstroke - Edge Evo II/33" BFG AT TAs/4" MBRP Turbo Back + Intake (164k)
- 1995 Pontiac Firehawk #224 (Chameleon) - Full Bolton/Cammed/Full Suspension (71k) - 12.75 @ 107.94
http://www.fquick.com/Fixxer777

-
01-25-2010, 09:18 AM #13
VIP Member
- Status
- Offline
- Join Date
- Sep 2008
- Location
- Round Rock, TX
- Posts
- 906
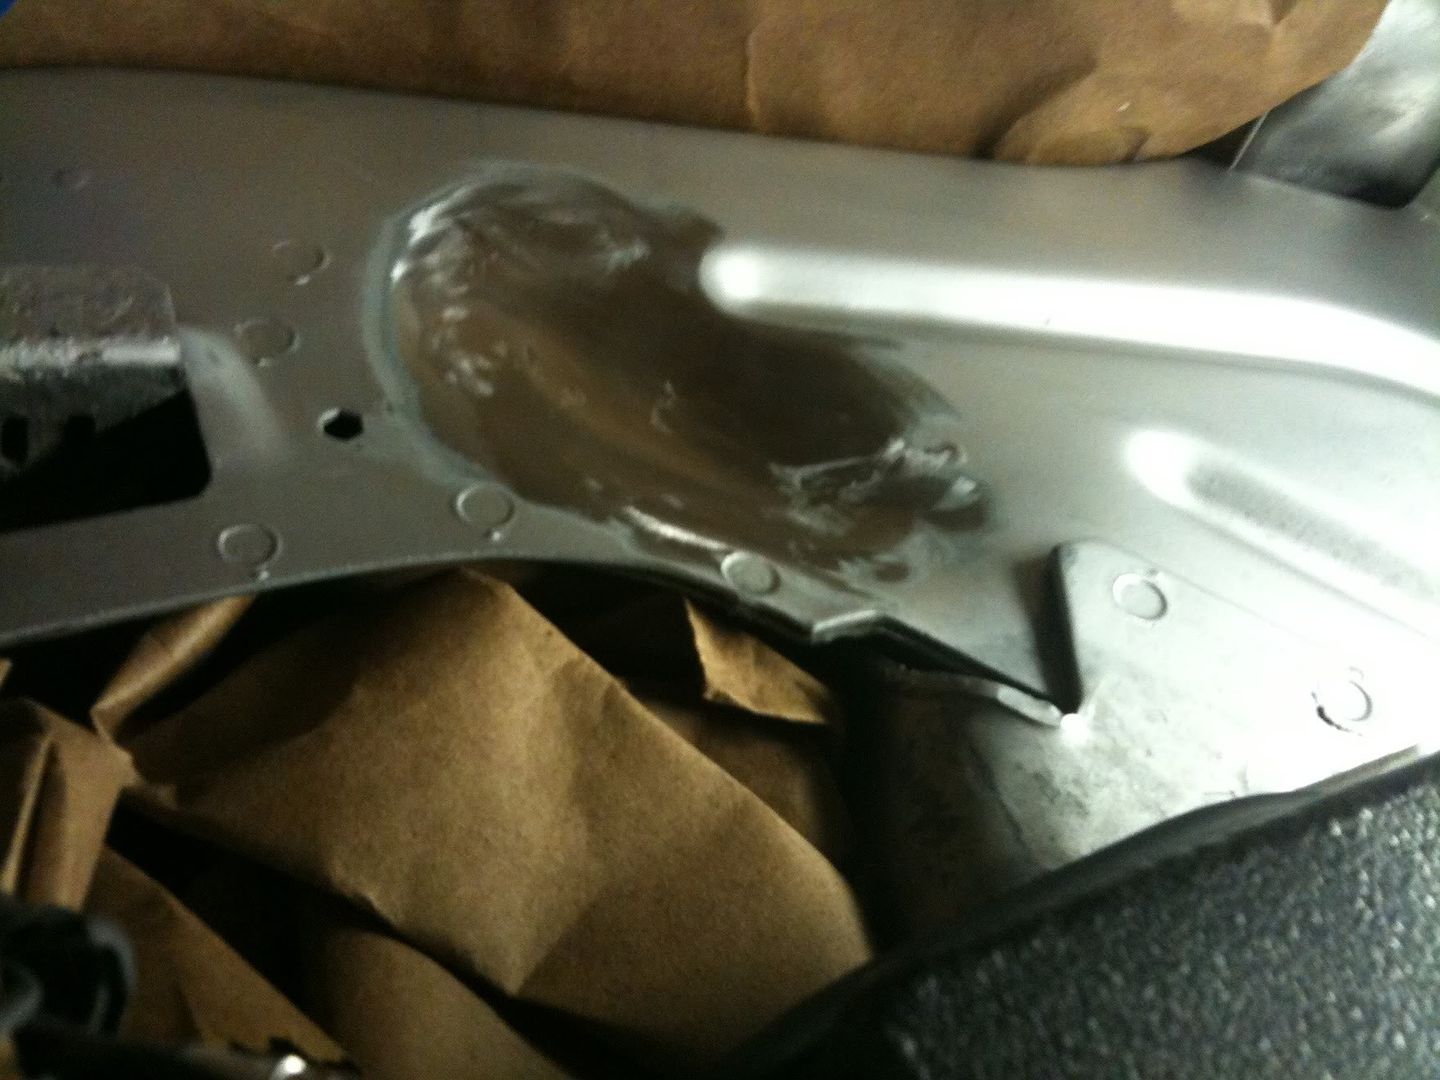
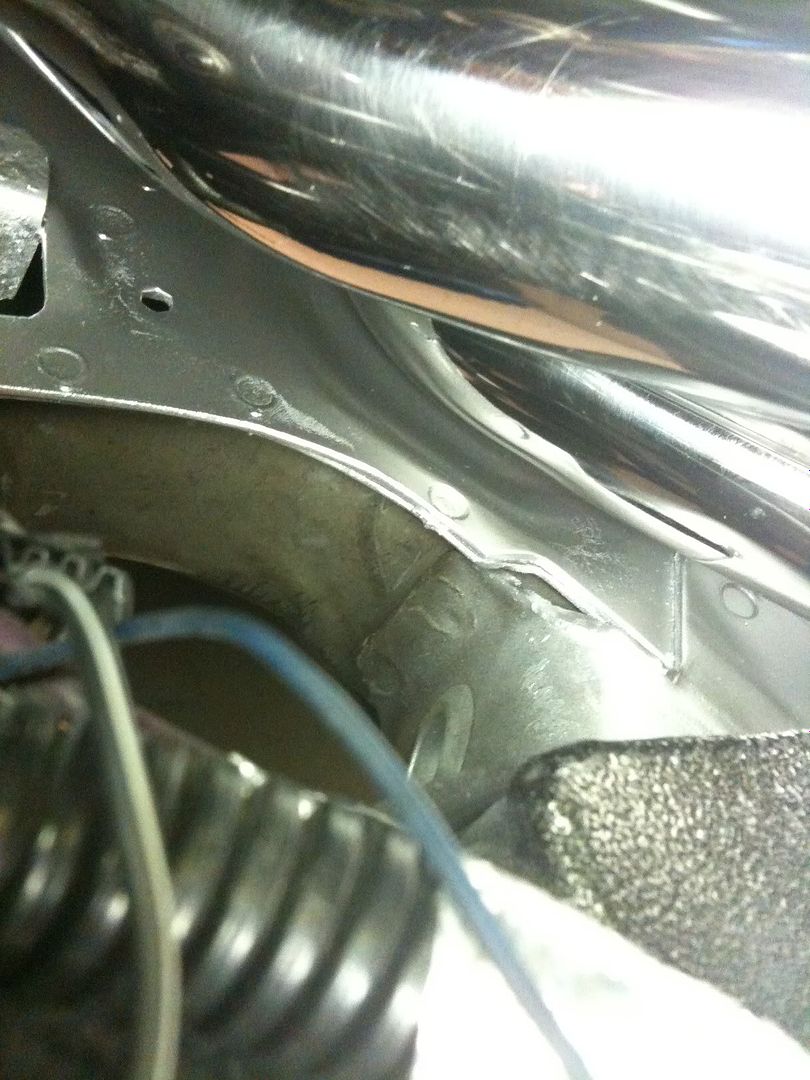
I decided to go ahead and make some room for the #8 primary so I don't have to pull the entire exhaust system and starter off again. I now have about 1/2" of clearance between the #8 primary and the frame rail. With the header bolted in, I used a marker and traced the outside edges of the primary onto the frame rail. I then pulled the header back out and used a heat gun and a 2.5 lb sledge hammer to work the metal to the contour of the primary. I think the end result turned out pretty good and I'm sure this will get me the little bit of extra room I needed. I also put the steering coupler back in and took some pics for you guys that were curious about that. Click on any of the images for a larger version.
Beating the frame with the hammer left some nice pits in the metal. I used a sanding disc on a rotary tool to smooth the metal back out.
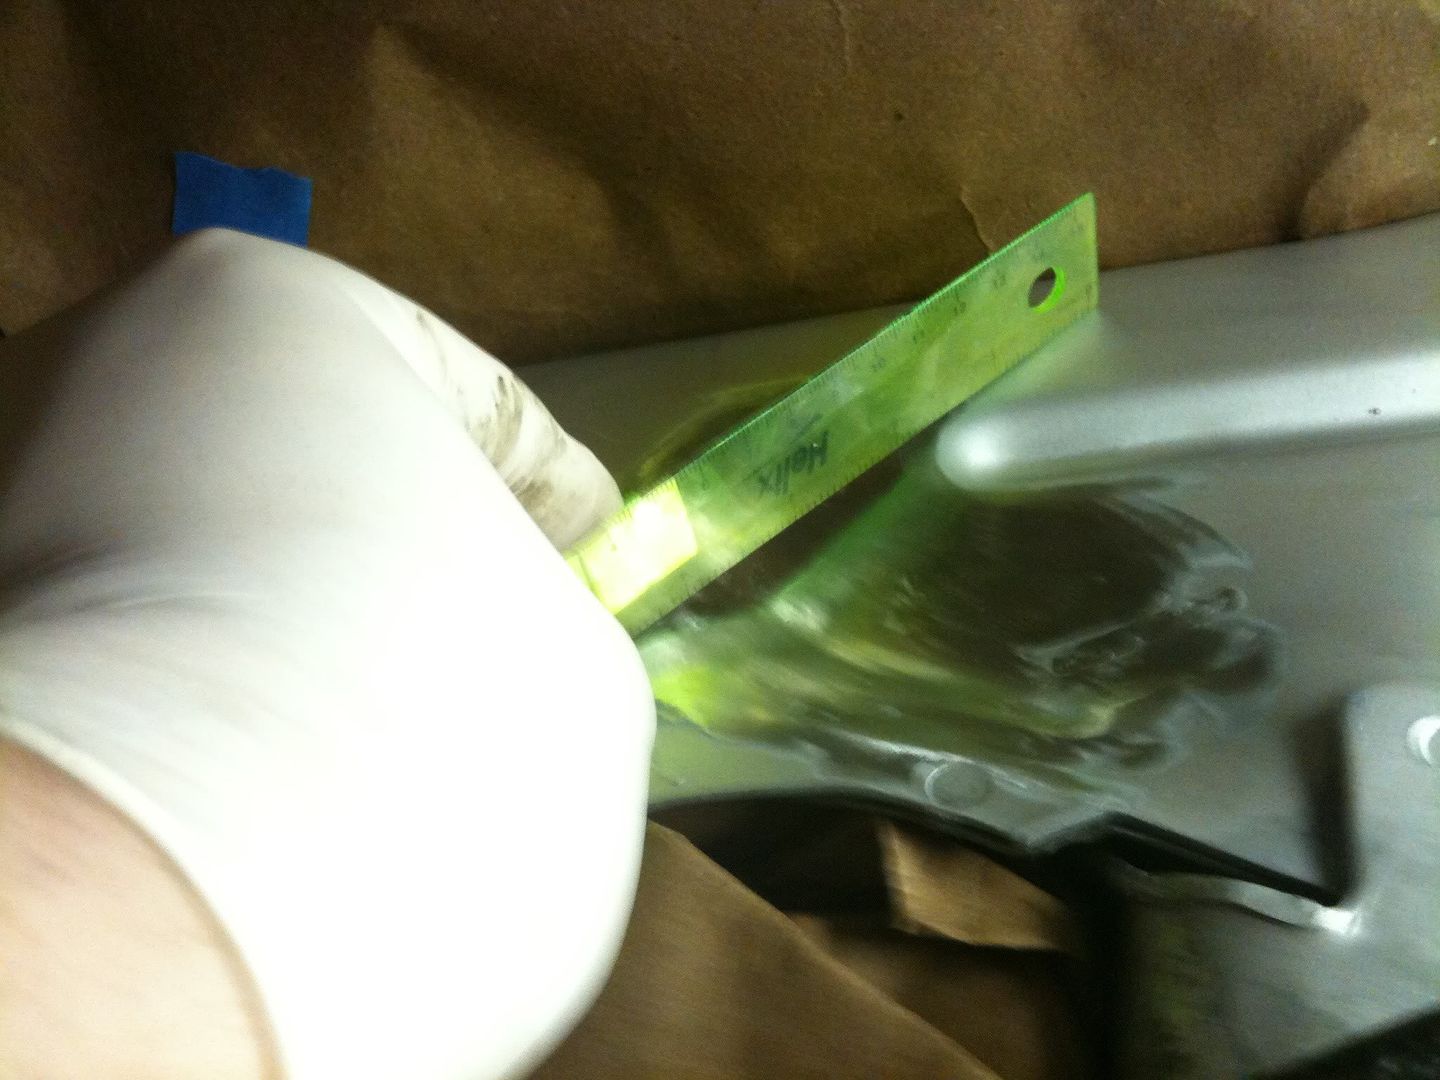
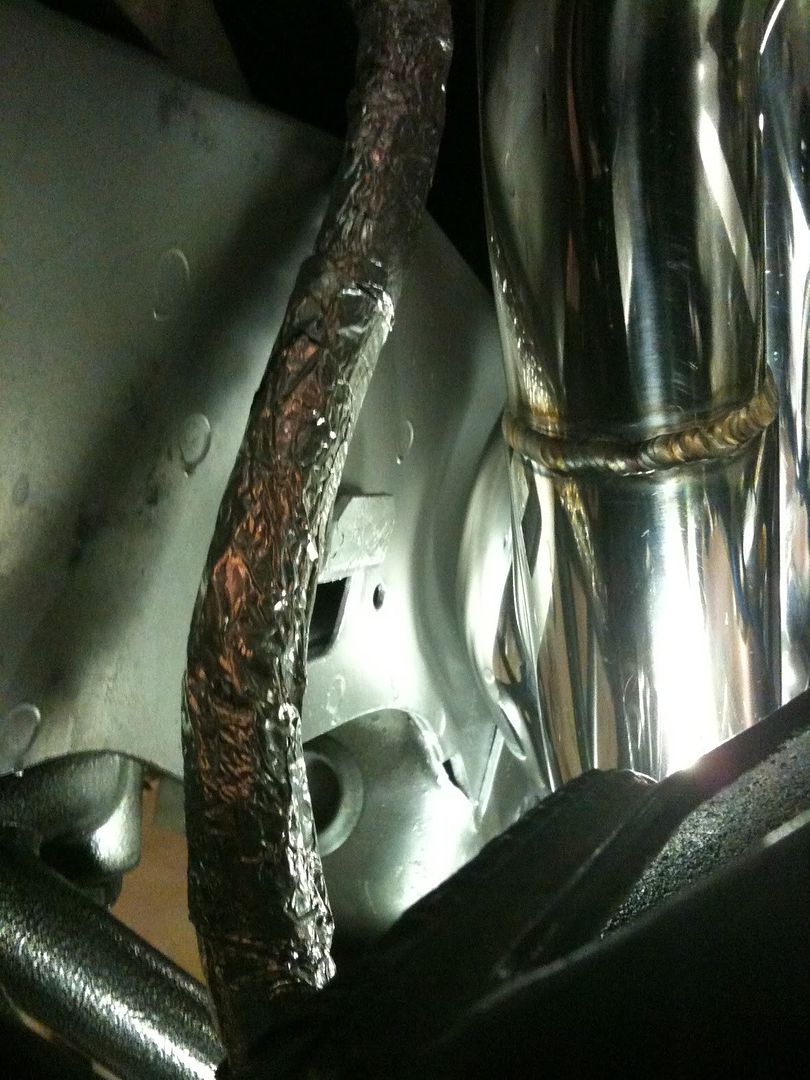
Using a straight edge to show the amount of clearance. Maybe around 1/4" closer to the top of the frame rail.
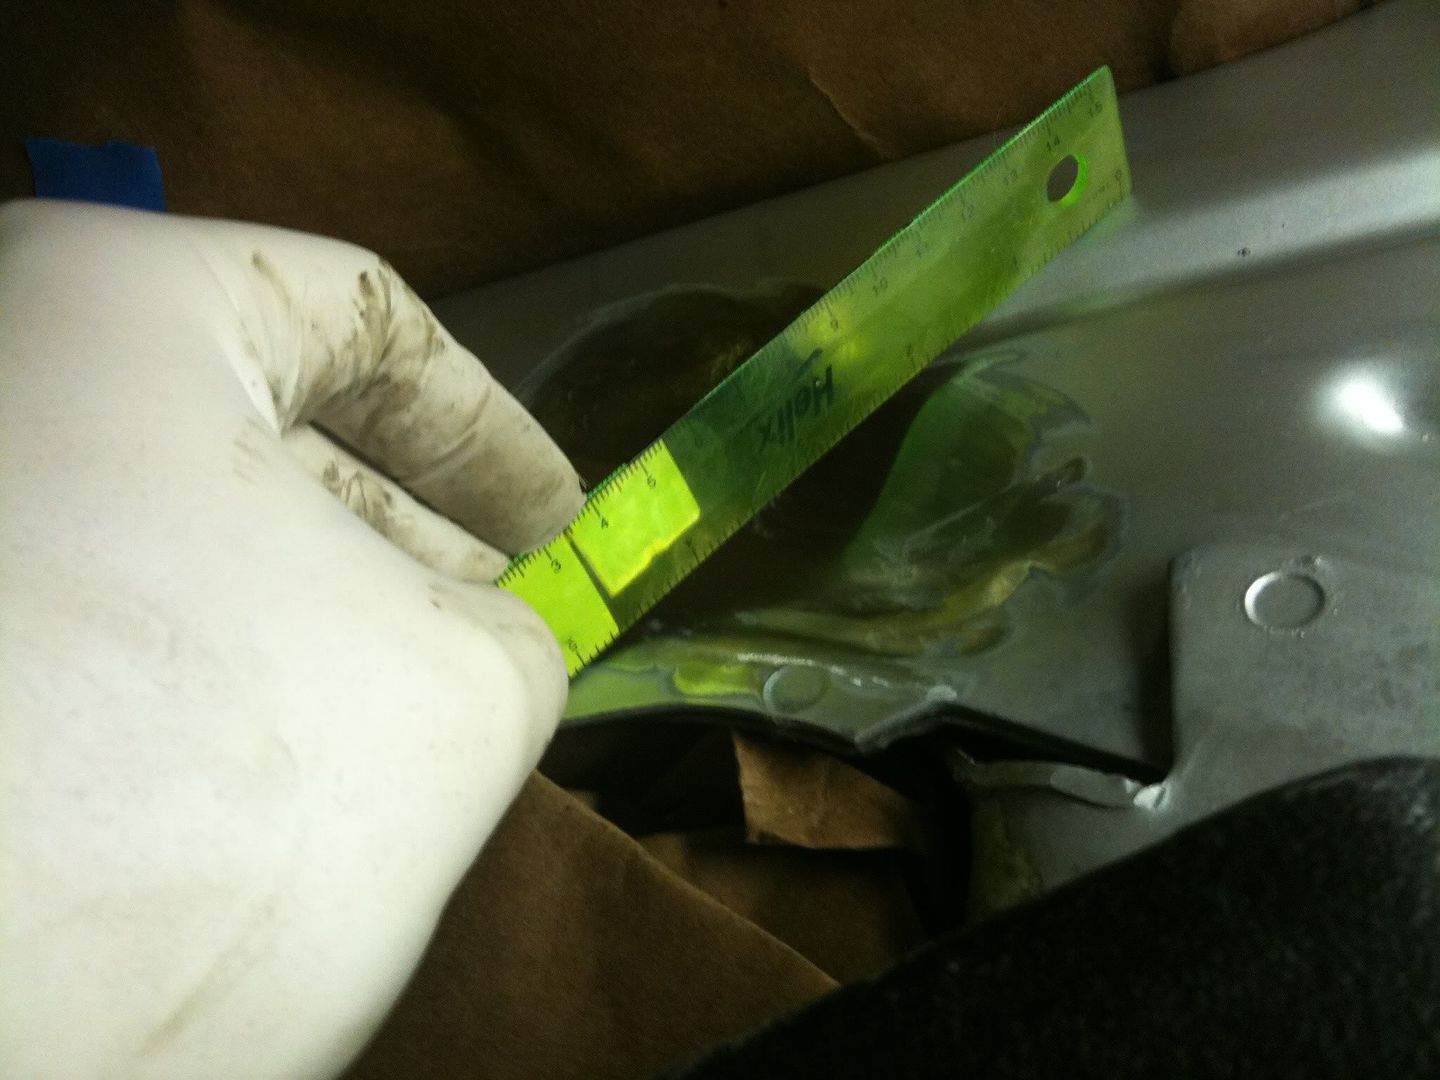
Probably around 1/2" in the middle of the frame rail. this area needed the most work.
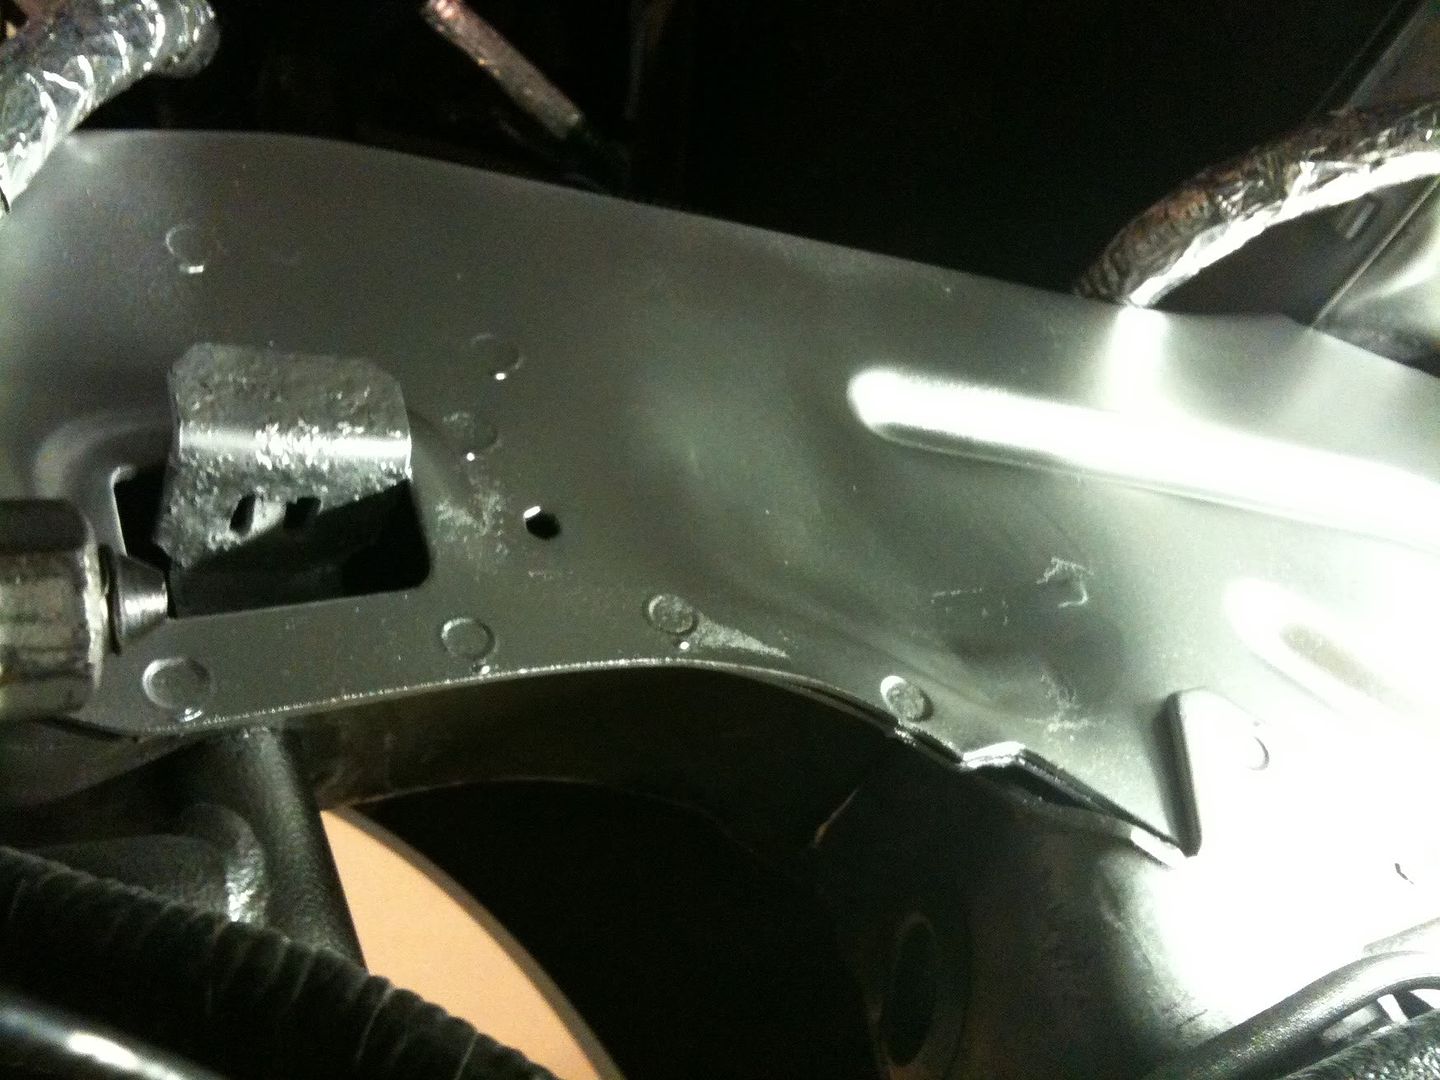
Primered and re-painted.
Side view shot from under the starter.
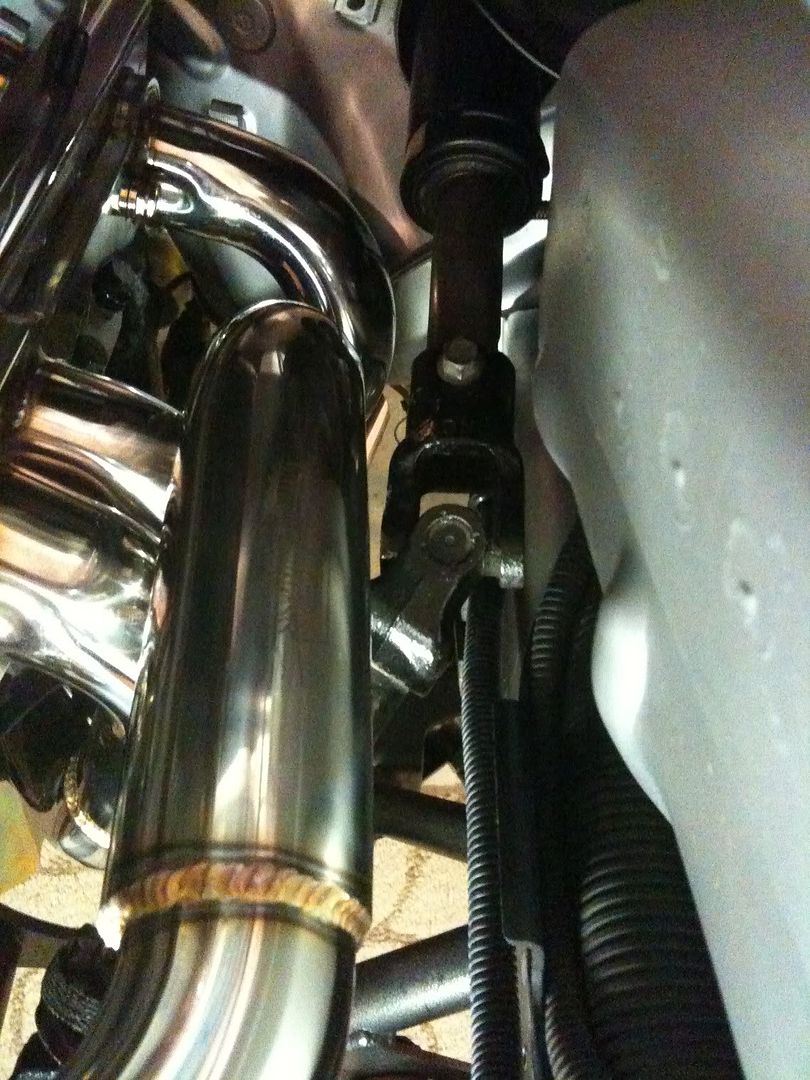
Front view.
Steering coupler
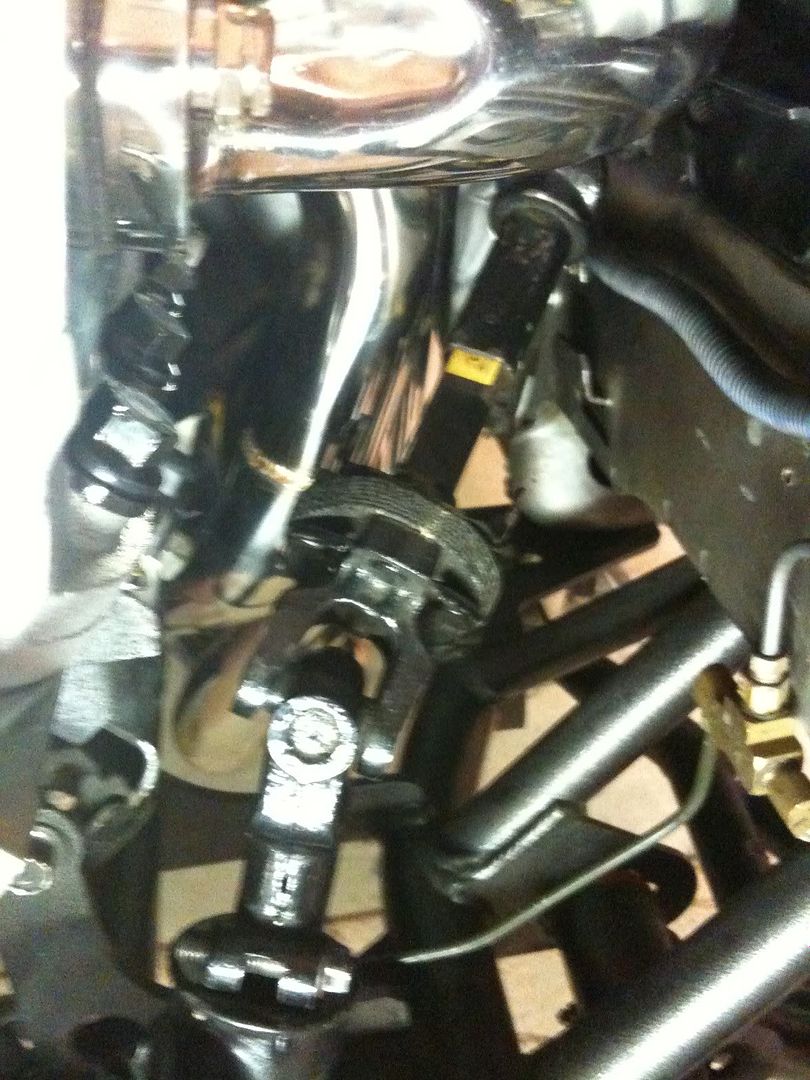
Steering coupler
-
01-26-2010, 08:00 AM #14
InActive Member
- Status
- Offline
- Join Date
- Sep 2008
- Location
- Clarksville, IN
- Posts
- 376
Nice write-up Kyle. I will be ordering a set of these next week. Have you put the plugs in yet?
Darrell
95z 383, th400w/brake, 9inch, 325/50s, nitrous-sold
-
01-26-2010, 08:36 AM #15
VIP Member
- Status
- Offline
- Join Date
- Sep 2008
- Location
- Round Rock, TX
- Posts
- 906
Thanks man. I haven't put the plugs in yet but it doesn't look like it will be all that bad. Once I get the valve lash set, I'll put the plugs in and let y'all know.
-
02-18-2010, 12:14 PM #16
LTX Member
- Status
- Offline
- Join Date
- Sep 2008
- Vehicle
- 1997 Camaro SS
- Location
- Overland Park, Kansas
- Posts
- 5,172
I hope you don't mind, but I'm adding this to the LTx Quick Reference Guide.
-Eric
1997 Camaro SS # 2703 - Full exhaust, brand new suspension, bolt-ons, etc.
2004 Silverado Z71 - Airraid, Corvette Servo, 33" AT's, leveled, etc.
-
02-18-2010, 12:36 PM #17
VIP Member
- Status
- Offline
- Join Date
- Sep 2008
- Location
- Round Rock, TX
- Posts
- 906
Cool!
-
04-04-2010, 05:46 PM #18
LTX Regular
- Status
- Offline
- Join Date
- Sep 2008
- Location
- FL
- Posts
- 394
Any pics of the car on the ground to see the clearance? Nice write btw too.
93 SRZ
02 MY Z06, LG pro LT headers, catted X-pipe, Borla stingers, CC 224/228, CC918's, CAI, CCW's just your basic C5Z
-
04-04-2010, 06:31 PM #19
VIP Member
- Status
- Offline
- Join Date
- Sep 2008
- Location
- Round Rock, TX
- Posts
- 906
Unfortunately none yet. The car probably won't be back on the ground for a few more weeks due to all the changes I'm making.
-
06-29-2010, 08:49 AM #20
Daily Driver
- Status
- Offline
- Join Date
- Sep 2008
- Location
- Tuscaloosa, AL
- Posts
- 666
Just thought I'd throw in my 2 cents. I installed my LPP's and it was kind of ridiculous, I have an assembled, stock engine bay. The only way to get the passenger side header in was to remove the starter, alternator, rotate the PS, remove the motor mount, and jack up the motor about as far as you could go without pushing the driver side header through the fender. The headers will fit, but its nothing special over any other header as far as install goes.
A huge upside is the ground clearance, however.95 T/A M6
Bolted | Slammed | 4.10s

 Reply With Quote


Bookmarks